
Why it works: Unit 1.2: Image sensing, Unit 1.3: The image as data
Open an Image and Read Its Pixels in OpenCV
Load a photo with cv2.imread, see that it is a grid of numbers with a shape and a type, and read one pixel and the mean brightness of a photo taken two stops too dark.
To a computer, a photo is a table of numbers: one number per colour per point, and this lesson opens one and reads it.
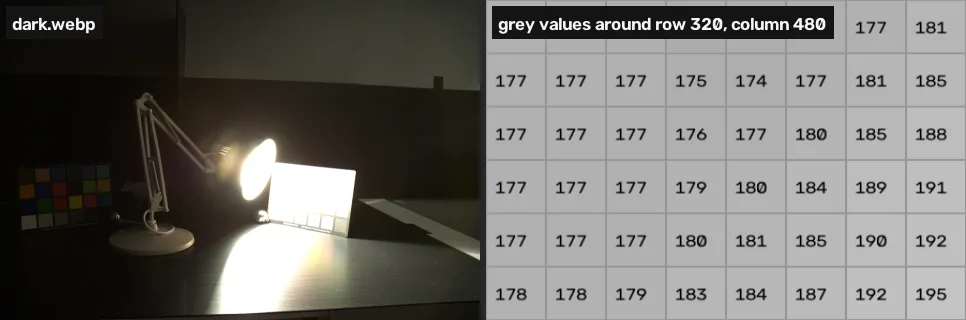
Where you have met it: the colour picker in any image editor, which shows the numbers under the cursor; GIMP’s Pointer dialog; the RGB readout of a screen colour-picker tool.
TL;DR. Opening a photo in OpenCV gives you a plain grid of numbers you can inspect and change. This one is 639 rows by 960 columns by 3 colour channels of 8-bit values, and its mean brightness is 56.6 out of 255, which is why it looks dark.
The problem
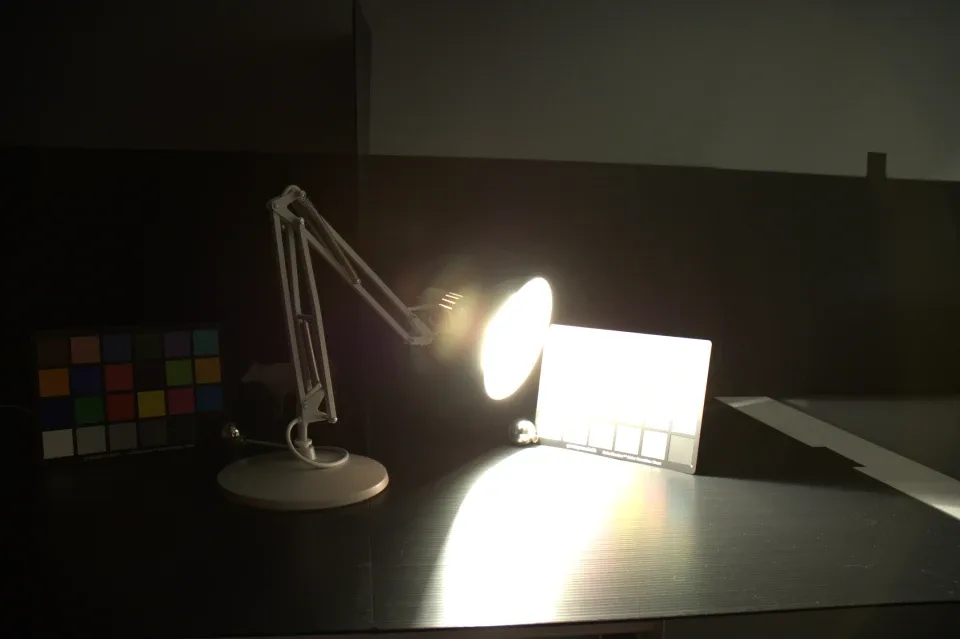
This module fixes the photo above. It is one of eighteen exposures of the same desk lamp and colour chart from the HDR Photographic Survey [3], and this one was taken at 1.3 seconds, about two stops (almost four times less light) short of the 5-second exposure the module uses as its target. Before anything can be fixed, you need to see what OpenCV hands you when it opens the file.
Open the image
cv2.imread reads the file and returns a NumPy array [1]. Press Run: the code is real Python and OpenCV, running in your browser.
import cv2

img = cv2.imread("dark.webp")
print("shape:", img.shape)
print("dtype:", img.dtype)
cv2.imshow("dark.webp", img)shape: (639, 960, 3) dtype: uint8
| Part | What it tells you |
|---|---|
shape (639, 960, 3) | 639 rows (height), 960 columns (width), 3 channels |
dtype uint8 | each value is a whole number from 0 to 255 |
cv2.imshow | shows the array as a picture; here it draws under the cell |
The order is rows first, then columns. Height comes before width, which is the opposite of how image sizes are usually written (“960 × 639”), and it is the first thing that trips people up.
Read a pixel, then the whole image
Indexing the array with [row, column] gives one pixel’s three values. OpenCV stores them as blue, green, red, not red, green, blue: its default read mode loads “the BGR 8-bit format” [1]. Converting to grey collapses the three into one brightness value per pixel, and the mean of those is a one-number summary of how bright the photo is.
# One pixel: row 320, column 480. OpenCV stores B, G, R.
print("pixel at row 320, column 480:", img[320, 480])

# The whole image in one number: its mean brightness
grey = cv2.cvtColor(img, cv2.COLOR_BGR2GRAY)
print("mean brightness:", round(grey.mean(), 1), "of 255")pixel at row 320, column 480: [140 175 206] mean brightness: 56.6 of 255
That pixel sits in the glow at the back of the lamp shade, so it is bright. The photo as a whole averages 56.6: most of it is dark desk and wall. The 5-second exposure of the same scene that the module uses as its target averages 104.7, which lesson 2 shows with a histogram.
Break it
Many other Python libraries expect red, green, blue. Hand them an OpenCV array without converting and the blue and red channels trade places. The cell below does the swap on purpose so you can see what that looks like: the warm lamp turns cold blue.
# Pretend another library read the array as R, G, B
swapped = cv2.cvtColor(img, cv2.COLOR_BGR2RGB)
cv2.imshow("blue and red swapped", swapped)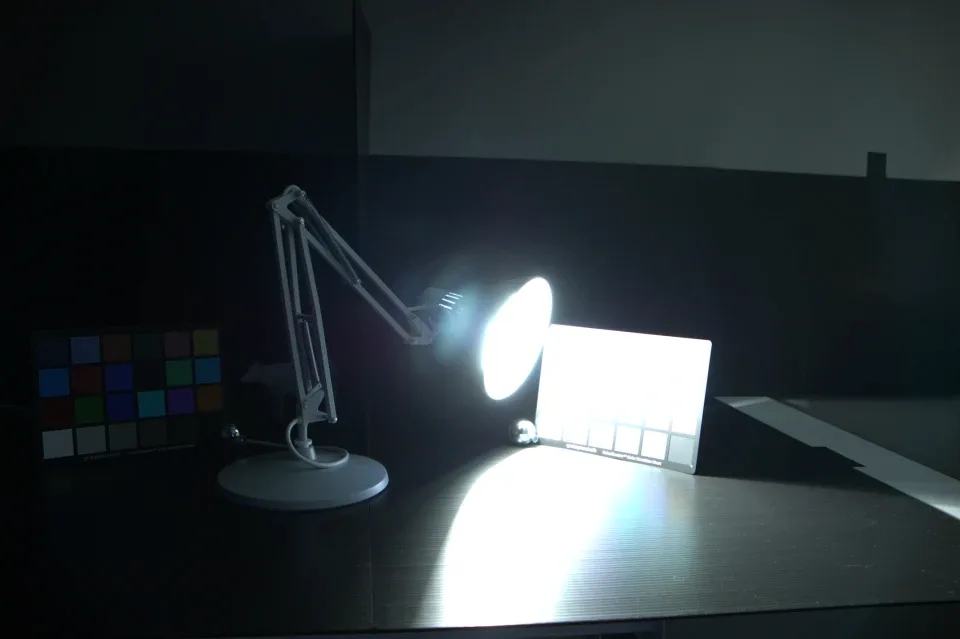
Your turn
Find the brightest grey value in the photo and store it in brightest.
brightest = 0  # replace with the brightest grey value in img
print(brightest)
Why this works
A camera counts the light that reached each photosite during the exposure. Storing the result samples the scene on a grid and quantizes each value to one of 256 levels [2], which is where the shape and the uint8 come from. The lesson An image is an array explains what the shape and the type mean, From photons to counts where the numbers come from, and Colour spaces why there are three channels at all. All three sit in the Fundamentals track, units 1.2 and 1.3.
Common mistakes
imreadreturnsNoneinstead of failing. A wrong path gives no error until the next line touches the array. Checkimg is Nonewhen a file might be missing.- Blue and red swapped. OpenCV is B, G, R; matplotlib, Pillow and most web code are R, G, B. Convert with
cv2.cvtColor(img, cv2.COLOR_BGR2RGB)before handing the array over. img[x, y]instead ofimg[y, x]. Rows come first. On a non-square image this reads the wrong pixel or fails with an index error.cv2.imshowin a notebook. In a script it opens a window and needscv2.waitKey; in Colab and Jupyter it does not work. The module’s notebook shows images with matplotlib instead.
References
[1] OpenCV. Getting Started with Images (tutorial, doc/tutorials/introduction/display_image/display_image.markdown). OpenCV 4.11.0, commit 31b0eee. github.com/opencv/opencv
[2] Gonzalez, R. C., & Woods, R. E. (2018). Digital Image Processing (4th ed.), section 2.4 “Image Sampling and Quantization”, p. 47. Pearson.
[3] Fairchild, M. D. (2007). The HDR Photographic Survey. IS&T 15th Color Imaging Conference, pp. 233–238. doi:10.2352/CIC.2007.15.1.art00044